Linux Installer
-
- Download the Installer: https://www.itmanager.net/update/ITmanagerInstall.tar.gz
- Uncompress the installer
tar xvf ITmanagerInstall.tar.gz
- Run the Installer
./ITmanagerInstall
- Open a browser to configure the server at http://hostname:4152
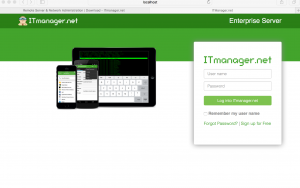
- The web browser will open – login to ITmanager.net using the credentials you registered to setup yourITmanager.net account.

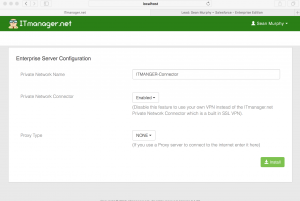
6. Enter your Network Name(name you want to give the Enterprise Server) and leave the Private Network Connector in its default state of “Enable”. This will be your VPN into your network. If you are using a Proxy here are instructions for Proxy setting.


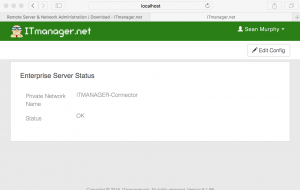
7. Done!
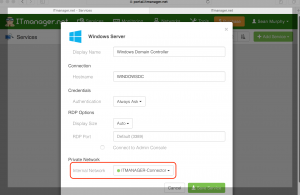
8. In the ITmanager.net Mobile or Web App, configure your Server connections to point to the newly installed Private Network.

When you manage the selected server it will now connect using the Enterprise Server.
Still have questions?